


How To Paint Kitchen Cabinets
Are you looking to give your kitchen a whole new look? Refinishing your cabinets can be a daunting task, but with these tips and tricks, you'll feel like a painting pro. In this tutorial we'll show you how to refurbish your kitchen with Country Chic Paint products for a beautiful and durable finish.
Step 1) Detach and clean your cabinet doors

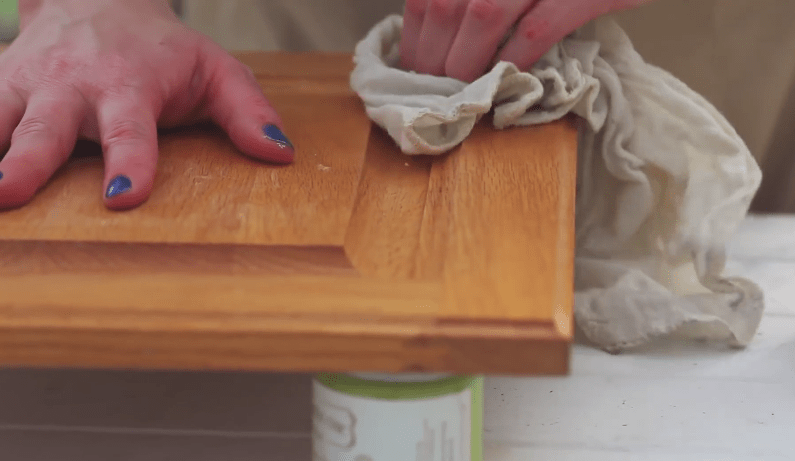
The very first thing you’ll want to do when refinishing your kitchen cabinets is to take each door off its hinges and give them a good cleaning. Since there are often food contaminants and oil in kitchens, they’re prone to being quite messy. We recommend giving each door a good wipe down with a mixture of water and vinegar to start. Make sure you follow this with a wipe down using just water to remove any last remaining surface contaminants as you don’t want cleaning products leaving a residue.
Step 2) Do you need to prime?

Before you dive right in, we highly recommend painting a few test patches on just one cabinet door to make sure you’re getting great adhesion and the surface underneath isn’t bleeding through. If you’re not happy with the adhesion, it might be a good idea to start with a coat of our Clear Bonding Primer to guarantee your work will last for years to come!
Step 3) Apply your paint

Shake and stir your paint, then pour some off into a cup or jar to avoid contamination of your entire can. Apply paint in one direction to ensure a smooth, even finish with minimal brush strokes. Keep in mind that it’s better to do two thin coats than one thick coat.
Make sure you allow the paint to dry for at least 24 hours before proceeding to the next step!
Step 4) Finish with Clear Coat

Because kitchen cabinets need to withstand a lot of usage, we recommend finishing them with our Clear Coat. It will give your cabinets a very high-end, durable finish that can stand up to daily wear and tear and will wipe clean beautifully. Two coats is best for optimal protection.
Stop by our Clear Coat application tutorial for tips on how to apply this product.
Keep in mind that it takes about one week for Clear Coat to gain full strength, so be extra careful if you decide to use your cabinets straight away.
Next up:
If you want to give your kitchen cabinets a bit more dimension, or perhaps an aged antique look, check out this tutorial next!

Did you enjoy our video tutorial? Make sure to Subscribe to our YouTube channel to get access to all our videos!
We would love to hear what projects you’re working on, so make sure to leave a comment or post a picture of your project to our Facebook page or Instagram (@countrychicpaint)!


